Say you’ve already created your starter base in Minecraft, but you want to learn more. Villages in Minecraft are inhabited, and you can grow the population by breeding villagers. This enhances trading in the game while making the vast world of Minecraft a little less lonely. If you’re confused about how to breed villagers in the game, we’re here to help.
This guide explains how to breed villagers in different versions of Minecraft, and how to protect them from zombies. Additionally, you’ll get some answers to the most common questions related to village inhabitants and breeding in the game.
How to Breed Villagers in Minecraft Java Version 1.13 and Earlier?
To breed villagers in Minecraft Java v1.13 or earlier, the process is different from version 1.14 and up. The number of doors determines the breeding capacity rather than beds. Follow the steps below for v1.13 or earlier to breed villagers.
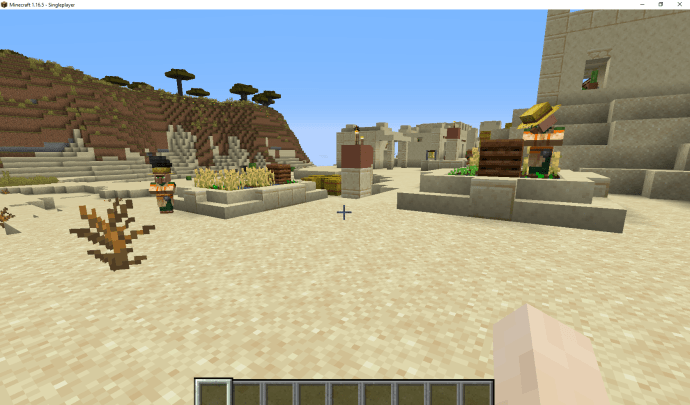
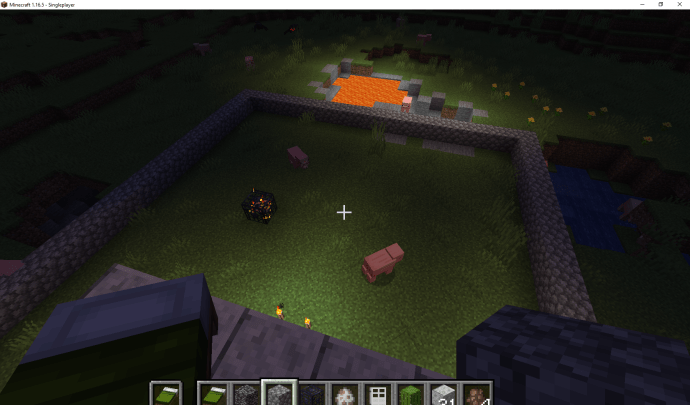
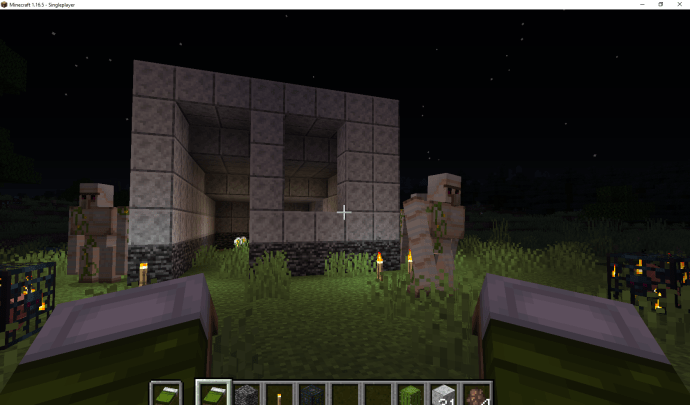
- Find or build a village (at least one house). It doesn’t have to be complete houses—just four walls that are at least two blocks high.

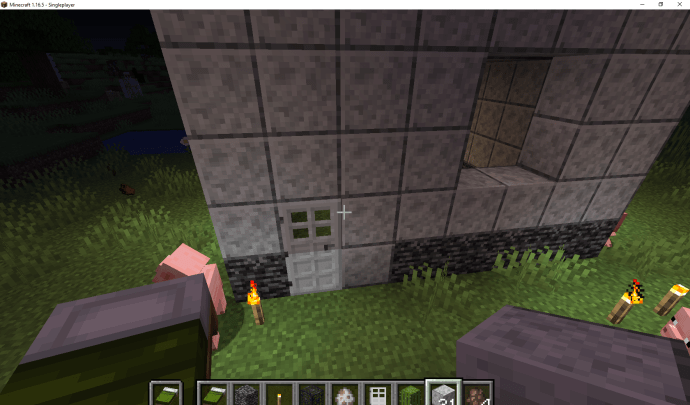
- Add three doors for every two villagers you want to breed. Place plenty of doors around the perimeter (can even be up against the walls or above them).
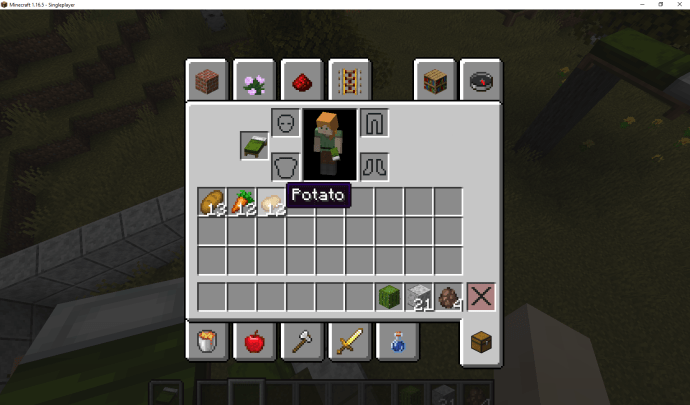
- Make sure that the villagers are willing to breed. To activate willingness, each villager needs 12 food points where loaves of bread are 4 points, and carrots, potatoes, and beetroots are 1 point each. Hearts appear over them when they’re willing.
- If feeding your villagers fails to motivate them to breed, you need to trade with them. Once all the requirements get met, leave the villagers alone in the building(s).

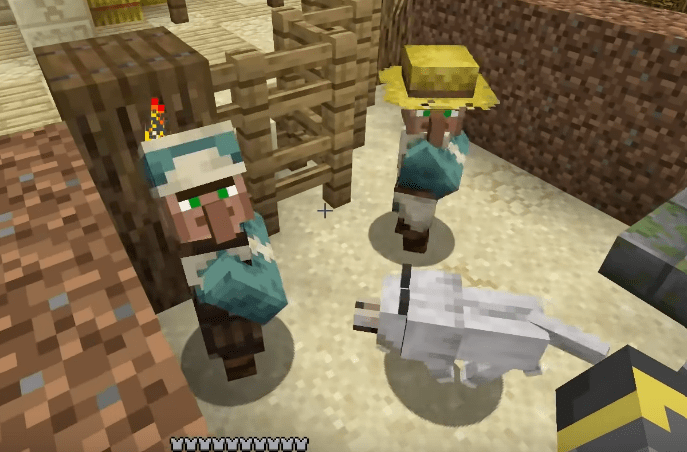
- Check the building(s) in about 20 minutes—a baby villager should appear.
- After another 20 minutes, the baby villager grows up.

Tip #1: Be aware of new villages—they may be inhabited by zombies, pillagers, vindicators, evokers, or illusioners. The more villagers you breed, the safer the village becomes, and it also receives iron golems to help protect it.
Tip #2: To guide a baby villager to his new career, add a workshop or a farm near the baby depending on the trade you want to inspire. Babies are born unemployed and inexperienced and choose their profession based on available workshops.
How to Breed Villagers in Minecraft Java Version 1.14 and Above
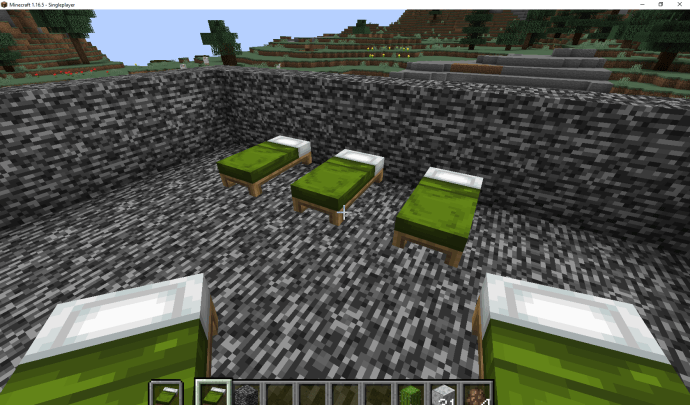
With Minecraft Java versions 1.14, 1.15, 1.16, 1.17, 1.18, and 1.19, the villager breeding process changed slightly. The use of doors for breeding villagers got replaced by beds. You need three beds for each couple—one for the baby. Follow the instructions below to grow your village population in Minecraft 1.14 and above.
- Find or build a village. A village doesn’t mean houses—you only need walls that are two blocks high. A couple of buildings close to each other are already considered a village.
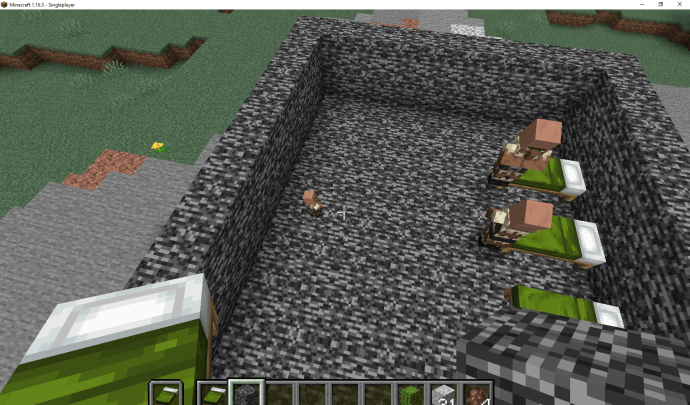
- Ensure that the building where your villagers are going to breed has at least three beds with two or more empty blocks above them. There should be three times more beds than adult villagers.
- Trade at least once with your villagers. This may not be necessary but it helps when “willingness” is lacking.

- For the villagers to breed, ensure they get 12 food points. Loaves of bread provide four points and carrots, potatoes, or beetroots deliver one food point.
- Leave two villagers alone in a building. Don’t forget to leave 3 beds with 2 free block spaces above them.
- Check the building in about 20 minutes—a baby villager should appear.


Tip #1: A village doesn’t mean houses. All you need is 4 adjacent walls about 3 blocks high.
Tip #2: Be aware of new villages, if you use one. They may be inhabited by zombies, pillagers, vindicators, evokers, or illusioners. Your villagers must feel safe to breed. Lighting helps ward off zombies and other creatures.
How to Breed Villagers in Minecraft Bedrock
Breeding villagers in Minecraft Bedrock isn’t much different from doing it in Minecraft Java. To do that, follow the steps below:
- Find or build a village with one or more buildings (only four walls, three blocks high is necessary—no roof, etc. needed). This process forms your new village.
- There should be three times the amount of beds than adult villagers in your village—two for parents and one for the baby. Include two or more empty blocks above them.
- Trade at least once with your villagers. This step may not be required, but if villagers have no “willingness” to breed, this process may help.
- For the villagers to be willing to breed, ensure that they receive 14 food points—bread delivers 4 points, and carrots, potatoes, and beetroots provide 1 point. Feed (throw) them to your villagers.
- Leave two villagers alone in a building. In Minecraft Bedrock, there are male and female villagers, but it doesn’t matter for breeding.
- Check the building in about 20 minutes. A baby villager should appear and claim the extra bed.
- Now, you can have the two villagers breed again if you move the baby out of the room. Of course, their “willingness” must exist once more and a “wait” period also exists.
Tip #1: If your village is full, you must either build more houses or send newborn villagers away to another village to breed. Don’t worry; newborn villagers grow up in about 20 minutes and quickly forget about their homes.
Tip #2: Privacy and safety are key to breeding villagers in Minecraft. Light the outside perimeter to deter zombies and such.
Tip #3: Add a door but place it sideways against the wall’s edge and open it to make it appear as closed. Yeah, zombies get confused and can’t figure it out!
How to Breed Villagers in Survival Mode
Breeding villagers in Minecraft survival mode is the same as breeding them in the creative mode.
How to Make a Village Zombie-Proof for Breeding Vilagers in Minecraft
If you’re playing in survival mode, your villagers can be killed by zombies, and you will have to breed more to replace them. Furthermore, villagers won’t breed if they don’t feel safe. Follow the steps below to protect your village.
- Ensure that there’s always plenty of light in the village. Craft torches from sticks and coal and place them around and inside your buildings.
- Create a wooden fence or a cobblestone wall around your village. Ideally, it should cover the whole perimeter and have a gate that you can close at night.
- If your village has less than 16 inhabitants, create iron golems to protect the village. In large villages, they spawn automatically.
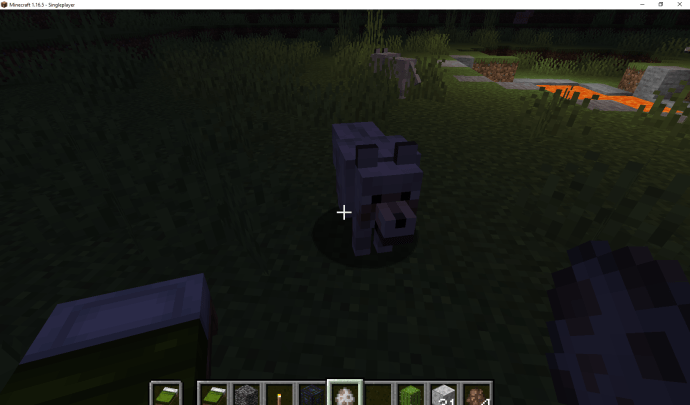
- Optionally, instead of iron golems, tame wolves to protect the village. Feed 12 bones to a wolf to tame it.
- Craft steel doors with a switch of some sort to open them instead of using wooden ones—zombies can’t break them. However, this method allows your villagers to leave the building.
- Optionally, use wooden doors but raise them one block from the ground.
- Optionally, create an opening with a one-block height that is one block below ground, then add water and repeat two blocks out. Add water so the babies can escape and allow for the next breeding session.

Minecraft Vilager Breeding FAQs
What else can I breed other than Villagers?
Villagers aren’t the only species that can be bred in Minecraft. You can also breed pets, tamed animals, such as horses, donkeys, cows, and even bees! Every animal species has different breeding requirements. So, to breed horses, you need to feed them a golden apple or a golden carrot. Cows, goats, and sheep are willing to breed after eating wheat. Pigs will eat carrots, potatoes, and beetroot – same as villagers, though you only need one instead of 12.
Wolves will breed after eating most types of meat. Chickens want to be fed seeds, and cats – raw fish. You can also make baby animals grow faster by feeding them certain types of food. For example, sheep grow faster when eating grass, horses – when consuming sugar.
What good does it do to breed Villagers in Minecraft?
There are a couple of reasons to breed villagers in Minecraft. Firstly, you can trade with them. As every villager has a different profession, you’d want to have enough villagers to ensure a supply of all necessary goods.
Secondly, your villagers can die for various reasons, and you have to replace them. Thirdly, growing your village is simply fun, and when the village is large enough, iron golems spawn automatically to protect the inhabitants.
What professions can Villagers have in Minecraft?
Most of the villagers have professions and supply certain goods. They have a different appearance that helps to identify them. Armorers will trade various iron, chainmail, and diamond armor for emeralds. You can get emeralds and meat from butchers. Cartographers trade maps and banners for emeralds and compasses.
To get gemstones, visit a cleric villager. Fletchers will help you to get crafting and hunting tools. Other villager professions include farmers, fishermen, leatherworkers, librarians, shepherds, and more. Some villagers are unemployed – they look like a plain villager model without any additional details.
You can find them a job by building a new job site. Another non-trading villager type is Nitwit. They wear green coats and shake heads if you attempt to trade.
What’s Reputation in Minecraft?
You have a different reputation in every village in Minecraft. It ranges from -30 to +30, starting at 0. Your reputation can be increased by trading with villagers and upgrading their professional skills. If you attack or kill a villager or their baby, your reputation will drop.
Therefore, if your village is full, don’t kill anyone – instead, send them away. When it drops below -15, villagers become hostile to you and iron golems attack you, so trading becomes nearly impossible. Furthermore, if you kill an iron golem, your reputation drops by another 10 points, so getting rid of them won’t solve the problem. Villagers also gossip, affecting your reputation. Breeding villagers doesn’t increase your reputation, but when a baby villager grows up, you can make them an apprentice to get additional reputation points.
Expand Your Village
Hopefully, with the help of our guide, you will easily grow the population of your village in Minecraft regardless of the game version. Make sure to protect your village inhabitants and create enough working sites for them to be willing to trade. And don’t forget about your reputation in the village – if it’s too low, you will be banished by the iron golems and will lose the ability to interact with villagers.
Do you prefer creating your own village or trading in existing villages in Minecraft? Share your opinions in the comments section below.
For more such interesting article like this, app/softwares, games, Gadget Reviews, comparisons, troubleshooting guides, listicles, and tips & tricks related to Windows, Android, iOS, and macOS, follow us on Google News, Facebook, Instagram, Twitter, YouTube, and Pinterest.


